Export via IDM Utilities Tool
Business Problem
Your organization has a repository containing various document types. However, you now need to export a specific type of document to another repository. Since you manage multiple repositories, you want to transfer all documents of a particular type to a designated repository.
To achieve this, you can use the IDM Utilities tool, which allows you to export the chosen document type along with its metadata and associated files.
📋 RequirementsTo follow this guide, you should have:
|
If Java 11+ is used then JavaFX needs to be installed as well (https://openjfx.io/). The Utilities tool can be started from command line where the “module-path” points to the JavaFX directory:
java -Xms1024m -Xmx1024m –module-path “C:\Program Files\Java\javafx-sdk-11.0.1\lib” –add-modules=javafx.controls,javafx.fxml,javafx.web -jar Utilities-.jar
Tutorial: Exporting Documents via IDM Utilities Tool
1
Downloading the IDM Utilities Tool
To access the Export function in IDM:
- Navigate to the Control Center.
- Select the Tools tab.
- Click on Utilities, then Download.
📌 Note: Extensive documentation is available, but this guide focuses on the Bulk Import function.
2
Starting the Tool
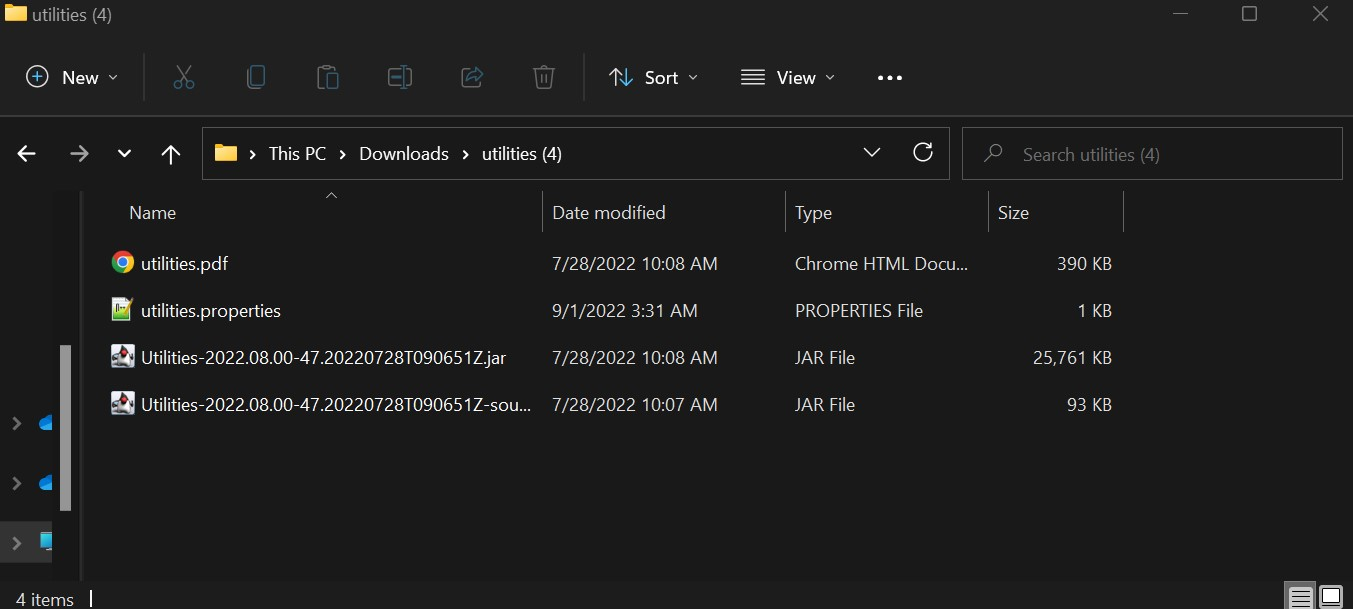
After unzipping the downloaded utilities package, you will find two .jar files.
- Run the file without "sources" at the end of its name.
Running the Tool in Command Line
- Navigate to the folder containing the
.jarfile. - Open the command prompt in that folder by typing
cmdin the address bar and pressing Enter. - Run the following command to open the GUI:
java -jar <ExecutableJarFileName>.jarExample:java -jar Utilities-2022.08.00-47.20220728T090651Z.jar
3
Setting Up the IONAPI File
To connect the IDM Utilities tool to your environment, generate an IONAPI file:
- Navigate to Infor ION API.
- Click on Authorized Apps.
- In the search bar, type IDM and look for an API labeled Backend Service.
- Click on it, scroll down, and select Download Credentials.
- Enable Create Service Account, enter your name, and click Download.
4
Running the Export Tool
- Use the
.jarcommand from earlier to start the tool. - Upload the IONAPI file you created.
Export Process
The export consists of two steps:
- Exporting Metadata (must complete successfully).
- Exporting Files (can be resumed if interrupted).
📌 The exported data is saved in the "export" folder.
Key Settings in the Export Tab
- Path: Directory where configuration XML files are saved.
- User Access: Ensure your user has permission to access all documents.
- Checked-in Documents: Only checked-in documents will be exported; checked-out documents are skipped.
- Search Query: Used to specify which documents should be exported.
5
(Optional) Generating XQuery
If you need to refine your document search, use the IDM XQuery Builder:
- Open IDM XQuery Builder in IDM.
- Input the search criteria.
- Click Enter Query Manually at the top to generate the XQuery.
- Copy and paste the XQuery into the Batch Update section.

Video Guide
Watch the tutorial video here:
Command Line Arguments
If you prefer running the tool via the command line, use these arguments:
| Path to an existing migration folder. If not empty, the tool resumes an existing export. |
| The document type to export (e.g., |
| If specified, all versions of a document will be exported (can significantly increase export time). |
| Use this if exporting from SharePoint (otherwise, only the first 5000 documents will be exported). |
| Specify a search query (if used, |
Example Command
java -jar <ExecutableJarFileName>.jar --path /export_folder --documentType "MDS_File"On this page
- Export via IDM Utilities Tool