How to upload documents to IDM using RPA
Advanced | 40 Minutes
RPA Document Management API Gateway
Overview
This tutorial explains how to upload documents into Infor Document Management (IDM) using the IDM API endpoint deployed on API Gateway. The flow outlined in this tutorial can also be used with the Read Key-Values flow to make the extracted values become the attributes of the uploaded documents.
📋 Requirements
|
Before Starting
Before we start building, be sure to complete the following steps:
- Make a folder for all the files you want to upload (e.g., C:\RPA\IDM).
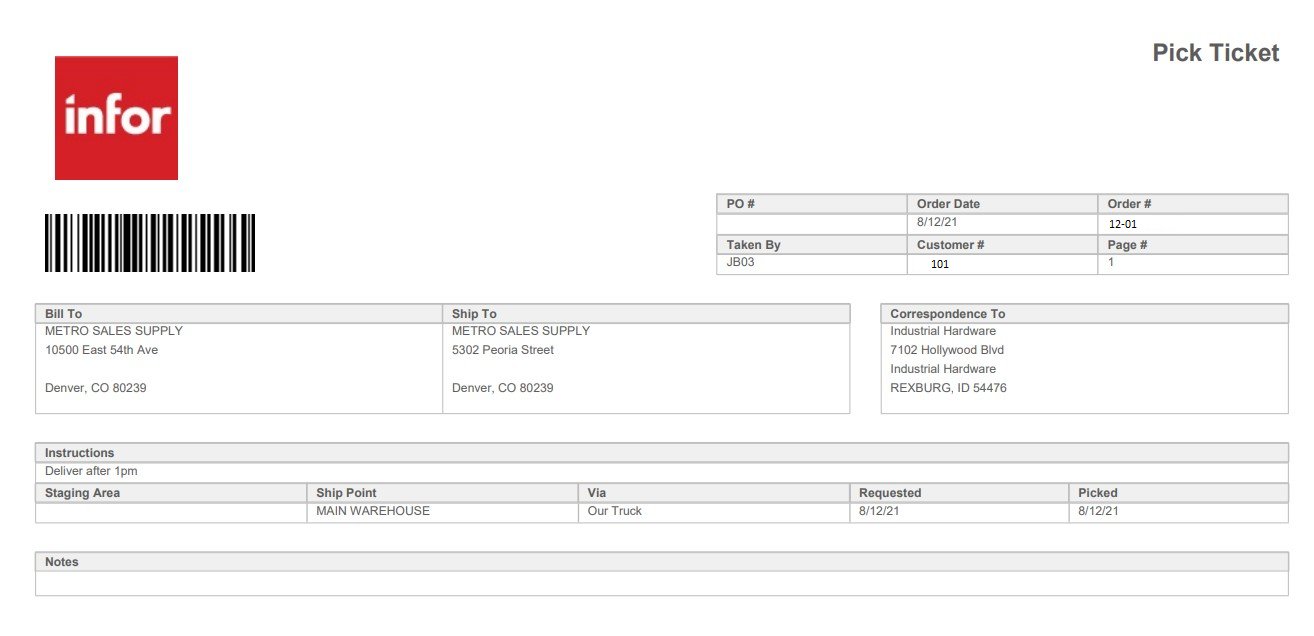
- Download the PickTicket image below and save in the following path: "C:\RPA\IDM\signedpickticket.png".
- Create a new document type in IDM (e.g., DocumentUpload with one attribute: ScreenID).
- Install RPA Studio and establish a connection between RPA Studio and RPA Management. In the RPA Management you need to also Authorize the IONAPI application to be able to call ION API endpoints. To do so go to RPA Management> Manage> and click Authorize next to ION API.

Tutorial
1
Open RPA Studio
Open RPA Studio on your machine. If you are not signed in already into the Tenant you would be asked to sign in before proceeding to RPA flow designer screens.
2
Create a New Project
On the RPA Studio home page, click Create New Project and specify the following properties in the pop-up window:
- Name:
UploadDocumentToIDM - Project Location:
<default> - Description:
Simple document upload to IDM - Language:
VB

3
Add Get Files Directory activity
Add the activity Get Files Directory . This allows RPA Studio to read all the files in the selected directory. Then, under System Category , select Activities . Drag and drop the activity on the Design canvas and click on it. The properties of the selected activity will appear in the properties panel. Configure the properties in the following way:
- For Path, direct IDM to the files you want to upload with an argument called FilePath of type string and default value of the directory path "C:\RPA\IDM".

- For Files, let’s create a variable that will store the list of the file paths: called FileList of type _List _without any default value.

- To find _List _data type, expand the Variable Type and select Browse for Type . For Type name cell, type List andselect List under the System.Collections.Generic domain . Then from the drop down menu select String and press Ok.


4
Use For Each to call IDM Endpoints
Next, we need to create the logic to call an IDM Endpoint for each of the read files. For that, we need to drag and drop the activity For Each and configure it in the following way:
- Select the String data type for the property type Argument, since the file path we want to read is represented as a String.
- For Value, specify FileList.
- On the main canvas, you should see the following phrase: “For each item in FileList.”
- It is recommended to change "item" to "file" for clarity, so it is clear what is being read.

5
Add Sequence to For Each
In the For Each activity Body field, drag and drop the Sequence activity where we will add the next set of activities. Note that without the Sequence activity you can only add one activity as part of the For Each activity body .

6
Encode files with string
To send the document to IDM via API endpoint, it must be Base64 encoded.
- Add the
File to Base64 Stringactivity (found in the System activities category). - Configure its properties:
- FilePath: Specify
file, which represents the file path read from the directory. - Base64String: Create a variable called
filebase64of type String to store the Base64-encoded file.

7
Add assign activity to store file names
Next, we will add the Assign activity and define the logic to store the file name as a variable. Later, we will use this property as a dynamic variable for the Endpoint Request payload. Let’s configure its properties in the following way:
- For "To": Create the variable
FileNameof type String. - For "Value": Specify the following VB expression to retrieve the file name:
System.IO.Path.GetFileName(file)

8
Create API Endpoint payload with Templating activity
Next, create the payload for the API Endpoint for POST method which will allow the documents to be posted into IDM with specific values. For that, we need to add the Templating Activity part of the System category for the activities. Let’s configure its properties in the following way:
- For the Values property, input the list of the variables used as part of the Template property. In this example it would be FileName and filebase64. To configure the property, click “… ”
- In the popup window for Key input, enter the name of the variable you will use in the Template property to create the payload for the API Endpoint. For Value input, enter the variable name holding the previously generated value, as defined in the Variable panel.
- If a different variable name is used in the Template property, the Key name must be changed accordingly.
- For Template, input the payload which would be posted via API Endpoint. Make the following transformations to the payload:
- Use single quotation marks (‘) instead of double quotation marks (“), as the value for this property should be a string and enclosed between a set of double quotations.
- Encode the dynamic variable in the following way: {{%variablename%}}
- If a variable is an integer, write it without single quotation marks (‘), otherwise, it will be treated as a string.
- In this example, all the values we are passing should be treated as strings, so enclose the variable within single quotation marks (‘).
- Example payload:
"{'item': {'attrs': { 'attr': [ {'name': 'ScreenID', 'value': '1000MR'} ] }, 'resrs': { 'res': [ { 'filename': '{{%FileName%}}', 'base64':'{{%filebase64%}}'} ] }, 'acl': {'name': 'Public' },'entityName': 'DocumentUpload'} }"- The actual payload is supposed to be in JSON format. However, since double quotations cannot be used, they must be replaced with single quotations. Moreover, the dynamic variables in the payload are ” {{%filebase64%}} and {{%FileName%}}
- For Text, which will store the payload with the correct values populated, let’s create the variable: TemplateOutPut of type String.


9
Convert Template to JSON with deserialized JSON
To use the created Text property output TemplateOutPut in the ION API Request, we need to transform it into JSON format. For that, drag and drop the Deserialized JSON activity and configure it in the following way:
- For JToken String , input the value created from the Templating activity as the variable: TemplateOutPut.

- For
JTokenObject: Create a variable namedIONAPIPayloadof type JToken to store the JSON payload. - To select the
JTokendata type:
- Click on Variable Type.
- In the dropdown, select "Browse for Types".
- Type "JToken" in the Type Name text field.
- Select JToken under
Newtonsoft.Json.Linq.

10
Create API Request with ION API Request
Now that we have a variable storing the JSON payload to post part of the API call, we can create the final API request to post the document. For that, drag and drop the IONAPI Request activity part of IONAPI activities’ category and configure the activity in the following way:
- For
Method: Select POST. - For
URL:
Create an argument named EndpointURL of type String.
"https://mingle-ionapi.inforcloudsuite.com/TenantName/IDM/api/items"
Since this is a String, the default value should be enclosed in quotation marks (").
Ensure the URL corresponds to the tenant you are logged into.
- For
Content Type:
Select application/json.
- For
File AttachmentsandHeaders:
Leave both empty.
- For
POST Data:
Input the variable IONAPIPayload, which is the output of the Deserialize JSON activity.
- For
Query Parameters:
Leave this property empty since the endpoint does not require any query parameters.

- For
Response, create a variable for troubleshooting:
Name: Response
Type: ResponseObject
- To select the
ResponseObjectdata type:
Click on Variable Type.
In the dropdown menu, select "Browse for Types".
In the Type Name text input field, type ResponseObject.
Select ResponseObject under Infor.RPA.Utilities.

11
Optional: Check API Response with Message Box
As an optional step for troubleshooting, you can add Message Box as the last activity of this sequence to read the API Response and see if the document was uploaded successfully. Let’s configure the activity in a following way:
- For
Input Text, define the VB expression that will read the response from the API call:
Use the variable Response, which is the output of the previous activity.
Response.ReadAsText
- The properties may remain empty.

Note: Before pushing the flow into production, make sure that the Message Box activity was removed.
Now you can run the flow and check the logs and uploaded file!
RPA Activities List

On this page
- How to upload documents to IDM using RPA