Snowflake API Integration
Integrate Similarweb Batch API reports into your Snowflake account.
Store, access, and analyze Similarweb data directly from your Snowflake database, so you can easily perform queries on your custom reports, or automatically integrate them into your own analytics or visualization tools.
Compatible with Similarweb Batch API only
To enable access to the Similarweb Snowflake connector, please speak to a Similarweb representative.
Snowflake integration instructions
1
Create a new Snowflake connection
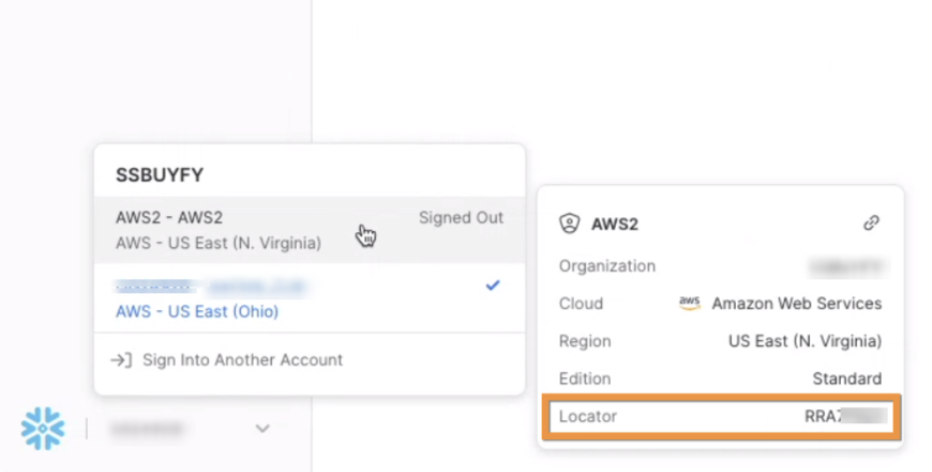
Start by creating a Snowflake integration to store and access your data. You'll need to provide your snowflake_account_id (locator ID) and snowflake_region.
2
Generate a report using the create-table URL
Creating a table is similar to requesting a one-time report, but you modify the delivery information and call the create-table URL instead. This sets up a table that will store data continuously.
3
Modify the delivery information
Adjust the delivery_information block to define where and how the data is delivered. Set the delivery method to snowflake to store the data in your Snowflake account.
4
Specify the integration name
Set the integration_name parameter to snowflake_default to direct data to the appropriate integration.
5
Name your table
Provide a unique name for your table. This name is used to identify and manage the table in Snowflake — choose something that corresponds to the data you'll store.
6
Run the request
Once you've filled out the request body, submit it to create the table. After submission, the table is set up in Snowflake and the requested data is added to it.
7
Retrieve the table path
After the table is created, you receive a share_name representing the Snowflake path where the table data is stored. Use this path to access the stored data.
8
Add data to the table
To append more data to the table after it's been created, use the request-report URL. This adds new data to the existing table without replacing it.
9
Send data to the table
By specifying the same integration_name and table_name as before, new data is added to your existing table. This keeps your data up to date with additional information as needed.
10
Keep field names consistent
When appending data, delivery_method, integration_name, and table_name must match the values you used when the table was first created.
The screenshots below are taken from Snowflake’s latest user interface (UI), Snowsight. If you are using a different version of the UI, your account might look different.
Step 1
Retrieve your Snowflake locator ID. This can be found on the platform’s left sidebar.
Note: Your reports can only be shared to 1 Snowflake ID.
Step 2
Retrieve your Snowflake region using the following request:


On this page
- Snowflake API Integration