Whitelisting a Domain
Theneo's Domain Whitelisting feature enables workspace administrators to authorize an entire domain, allowing users with email addresses from that domain to access the workspace. This feature simplifies user management by automatically granting permissions to users within the whitelisted domain.

Setting Up Domain Whitelisting
- Accessing Workspace Settings:
- Navigate to the ‘Settings’ on the Theneo sidebar.
- Click on ‘Workspace Settings’ under the Admin section.
- Enabling Domain Whitelisting:
- Locate the ‘Domain whitelisting’ section.
- Enter your domain in the ‘Whitelist domain’ field (e.g., "yourcompany.io").
- Toggle the switch to the ‘On’ position to enable whitelisting.
- Assigning Permissions:
- Choose the default permission level for new users from the dropdown menu. Options include:
- Viewer
- Editor
- Admin
Managing Project Access
- Navigating to Project Settings:
- Select the project you want to manage from your Theneo dashboard.
- Click on the ‘Settings’ tab within the project.
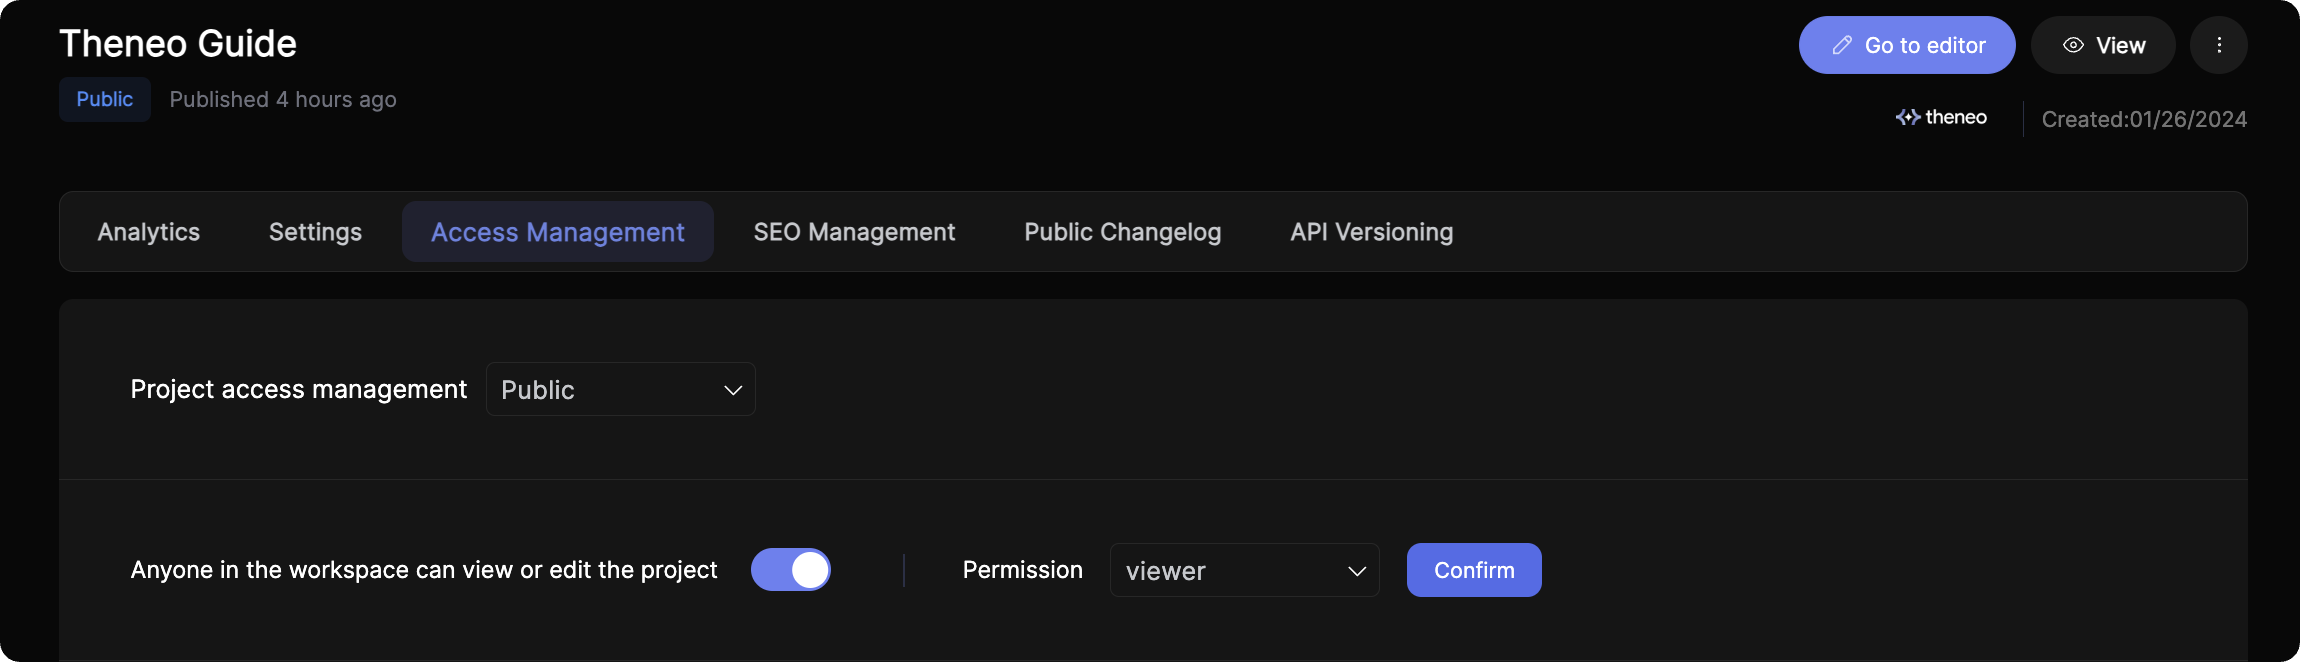
- Configuring Project Access:
- In the ‘Access Management’ tab, look for the ‘Project access management’ dropdown.
- Select the visibility setting for the project—options include:
- Private
- Public
- Domain (if you want the project to be accessible only to users from the whitelisted domain)
- Setting Workspace Permissions:
- Toggle the ‘Anyone in the workspace can view or edit the project’ switch to the desired setting.
- Select the level of permission for the workspace from the dropdown next to the toggle switch. This sets the default access for all users from the whitelisted domain.
Automatic User Addition
- Once Domain Whitelisting is enabled and configured, users with email addresses matching the whitelisted domain will be automatically added to the workspace with the default permissions set in the previous steps.
Tips and Best Practices
- Review Permissions Regularly: Regularly check the permissions assigned to the domain to ensure they align with your organization's access control policies.
- Communicate Changes: When changes are made to domain whitelisting or project access settings, communicate these to your team to avoid confusion.
- Use Domain-Specific Emails: Ensure that your team members are using their domain-specific emails to leverage the benefits of this feature fully.
Technical Requirements and Limitations
- Email Domain Verification: Your domain must be verified with Theneo to use this feature. Only email addresses matching the verified domain will be automatically added.
- Permission Levels: Understand the implications of each permission level (viewer, editor, admin) to avoid unintentional access grants.
- Project Visibility: Be aware that setting the project to 'Domain' restricts access to users outside the whitelisted domain, even if the project is otherwise set to 'Public'.
By following these steps, workspace administrators can effectively manage user access and streamline the process of onboarding new users within their organization
Was this section helpful?
On this page
- Whitelisting a Domain